


0-10V Smart Thermostat 4 pipe Fan Coil Thermostat with Modbus Communication and Key card function
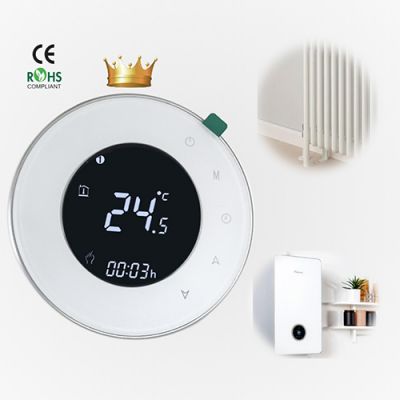
HTW-WF01-FC series Smart Wifi fan coil thermostat is widely used in these environment like Homes, Residential buildings, Schools, Hotels, Hospitals, Offices and etc. to main an ideal room temperature purpose.
>> General
HTW-WF01-FC series Smart Wifi fan coil thermostat is widely used in these environment like Homes, Residential buildings, Schools, Hotels, Hospitals, Offices and etc. to main an ideal room temperature purpose.


>> Ordering Guide
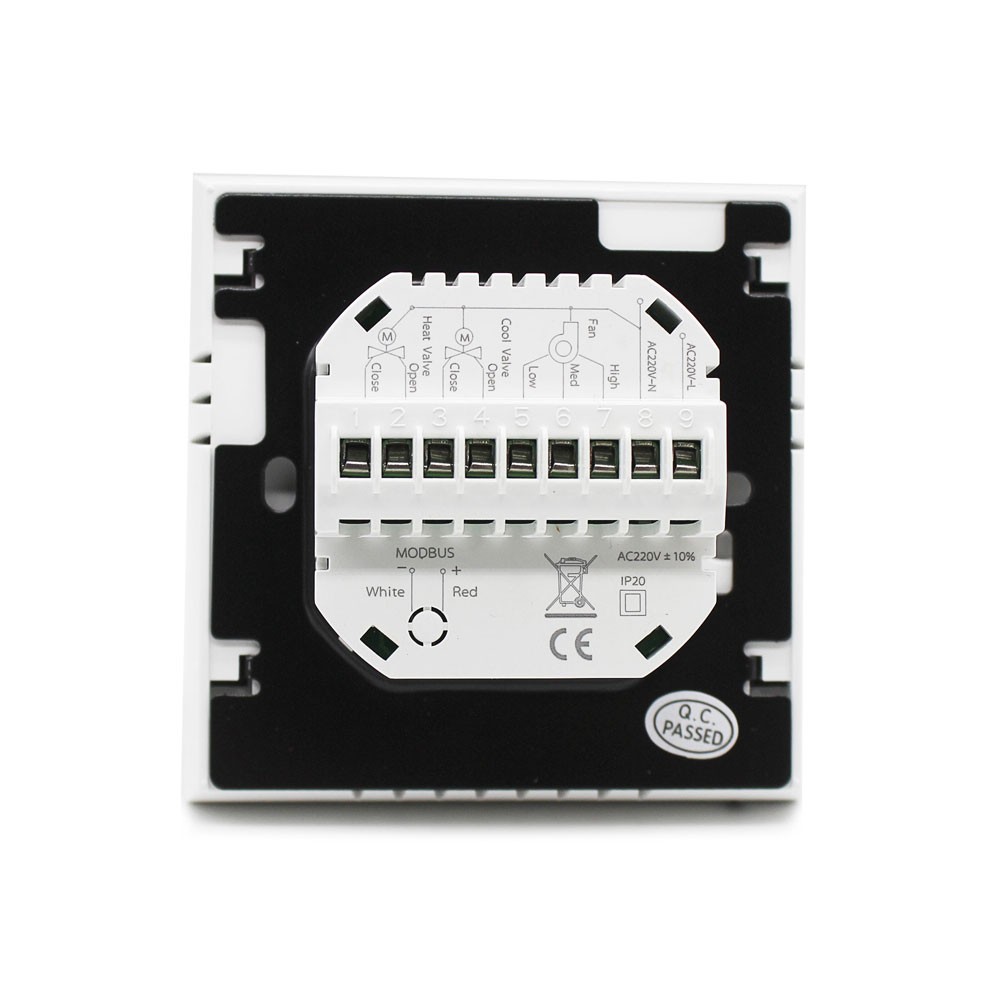
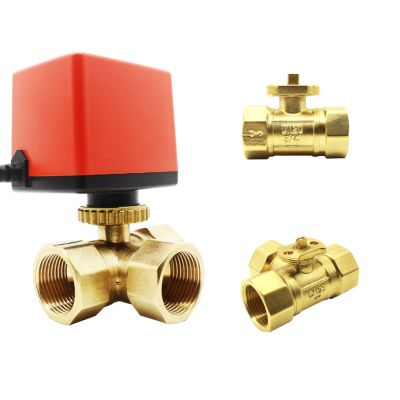
>> Tripical Wiring


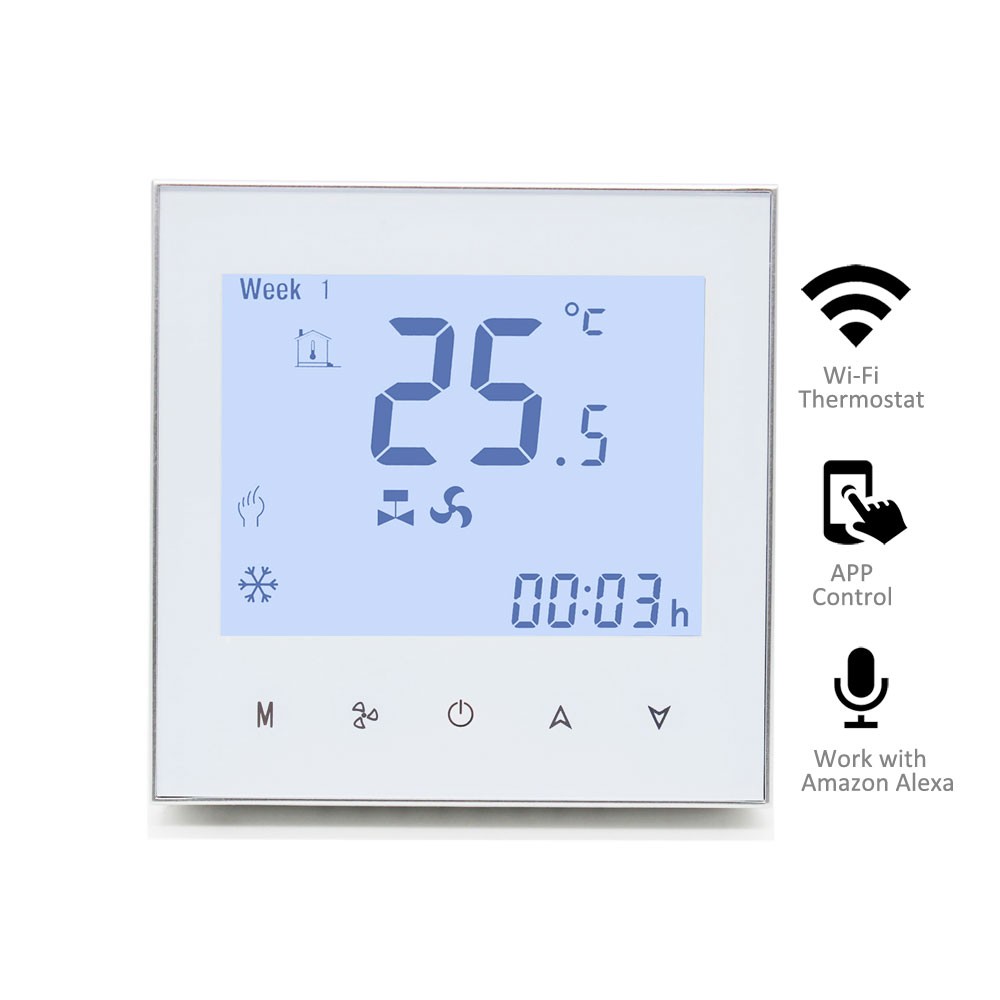
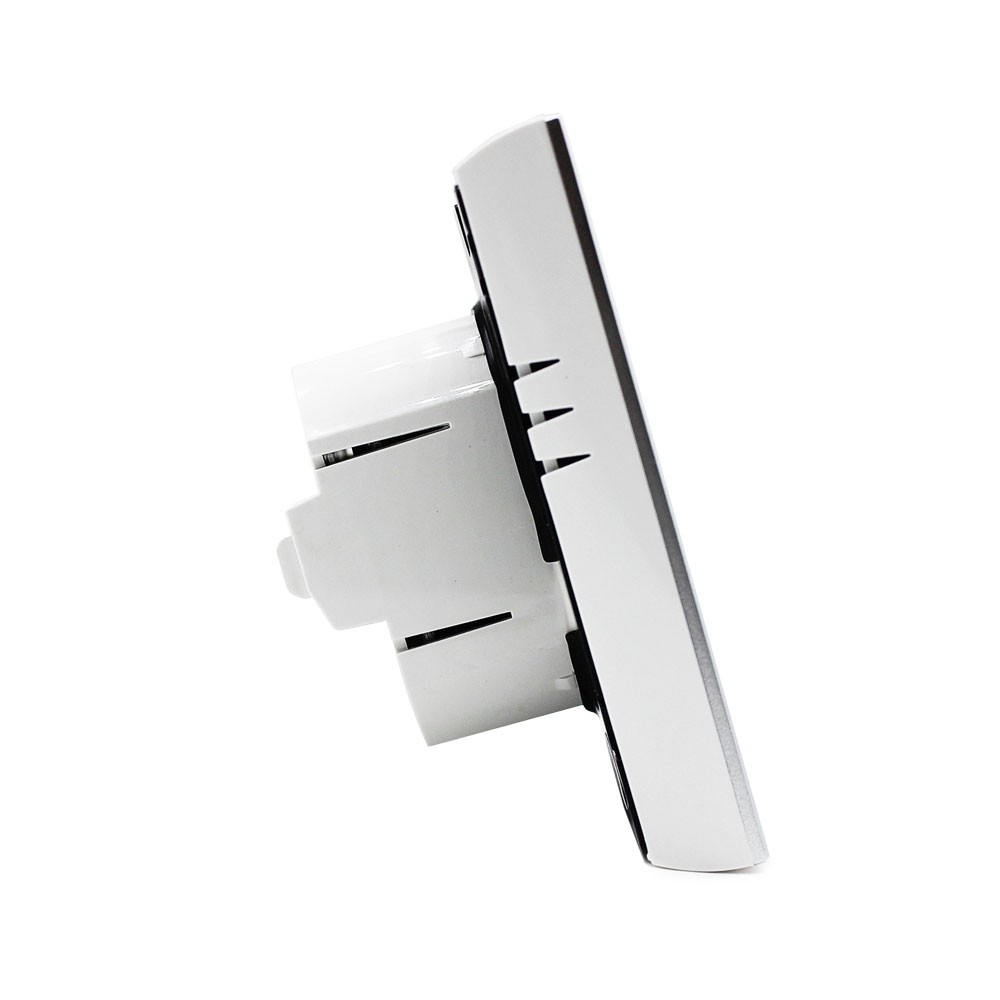
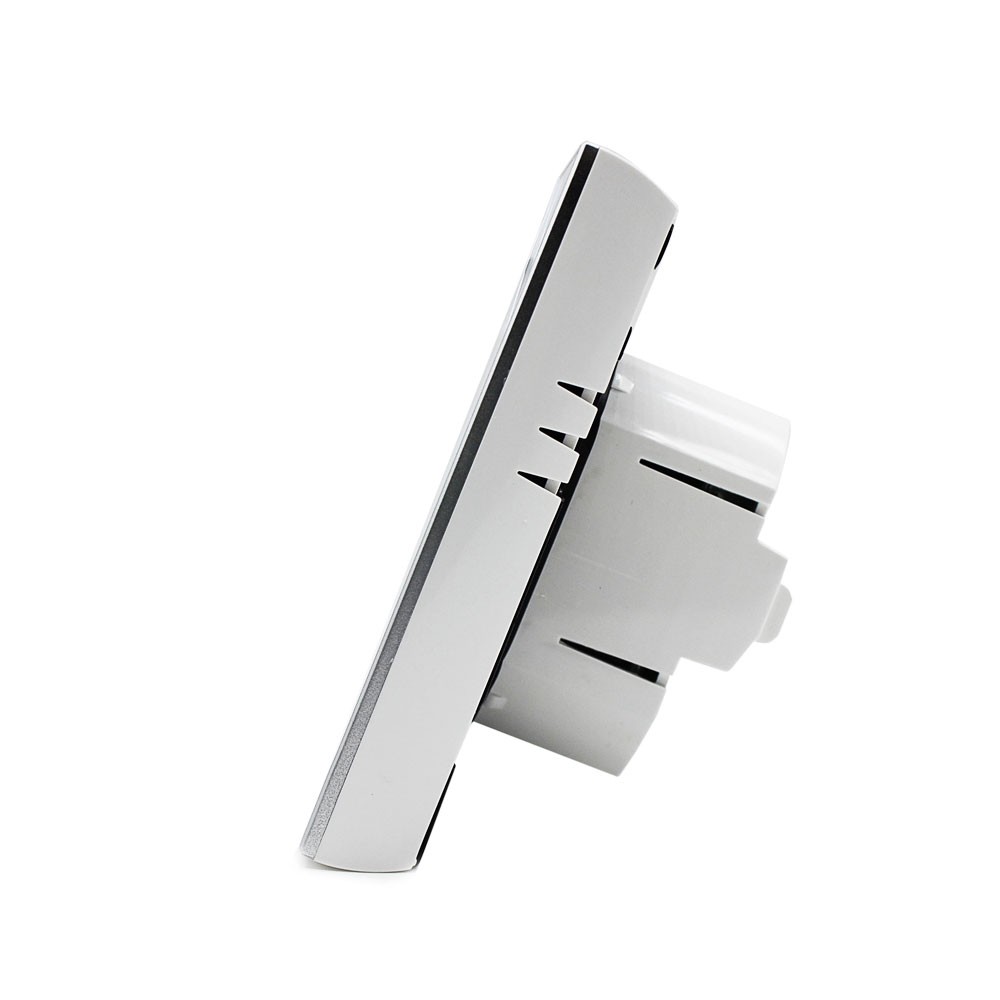
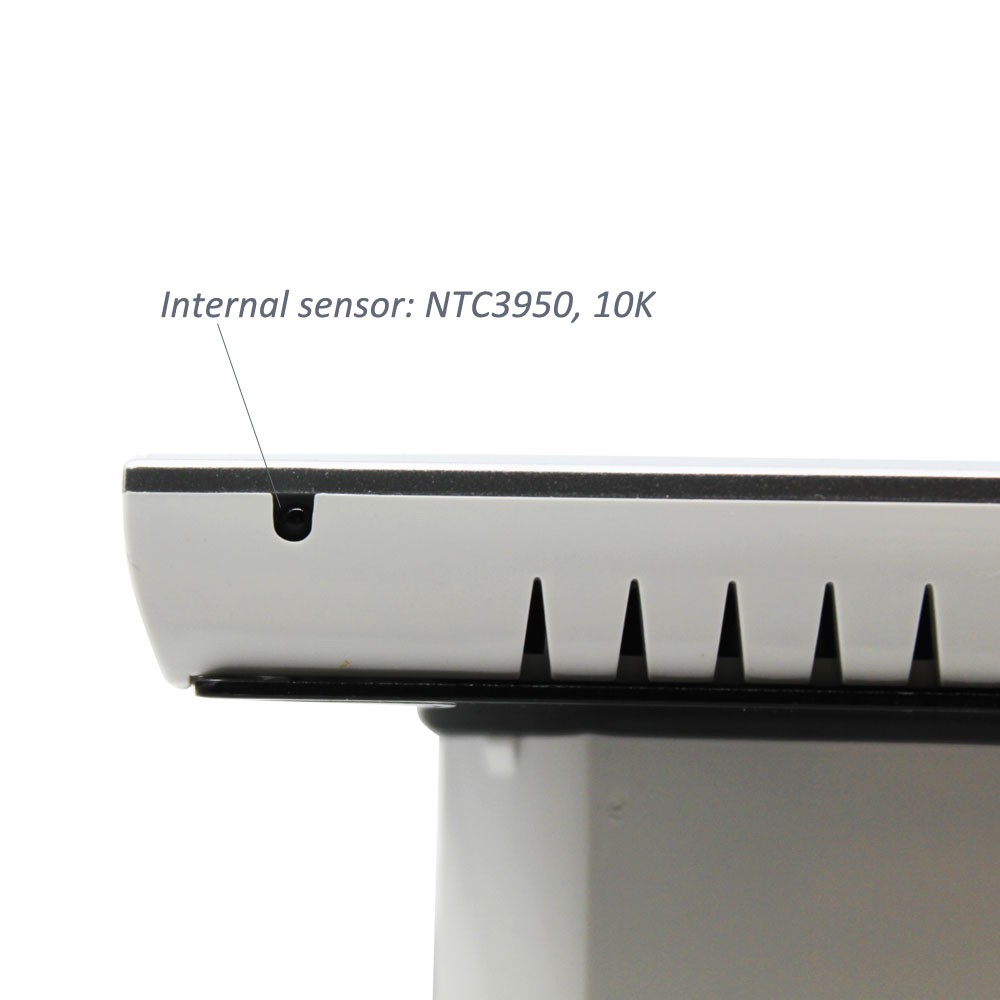
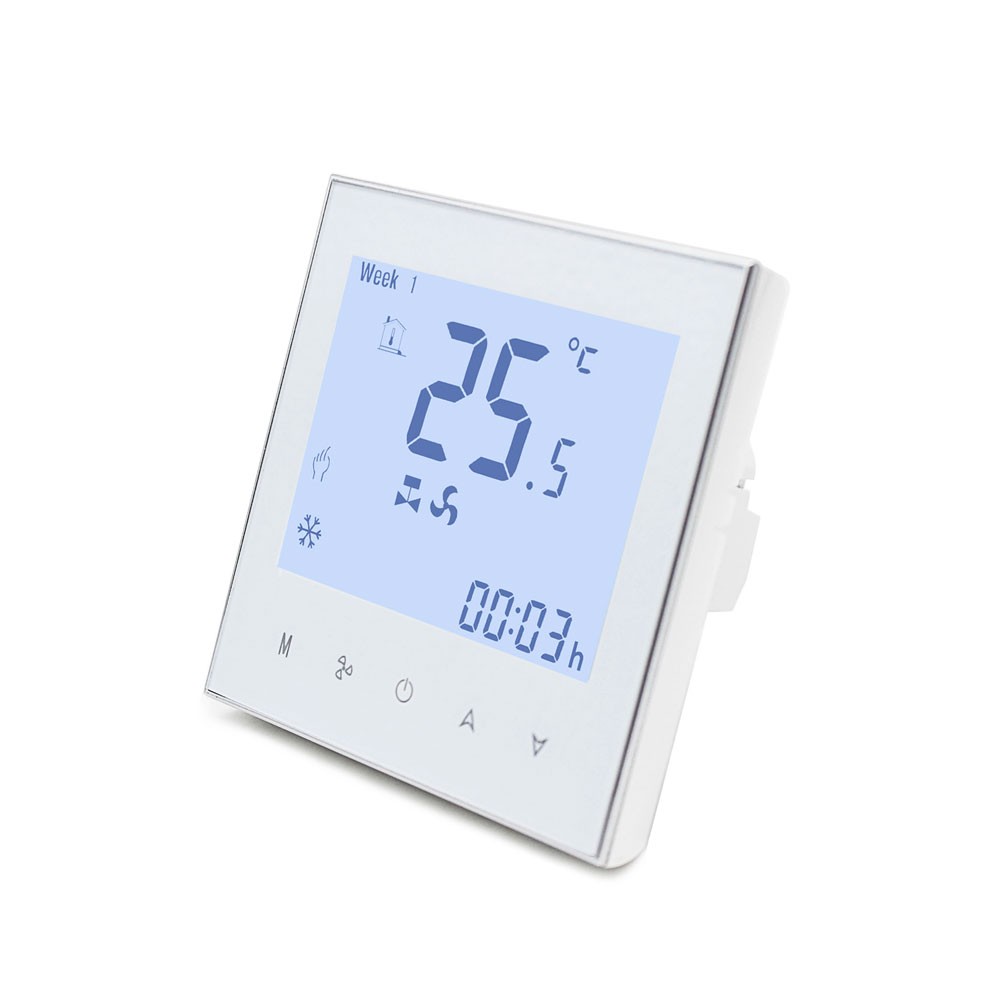
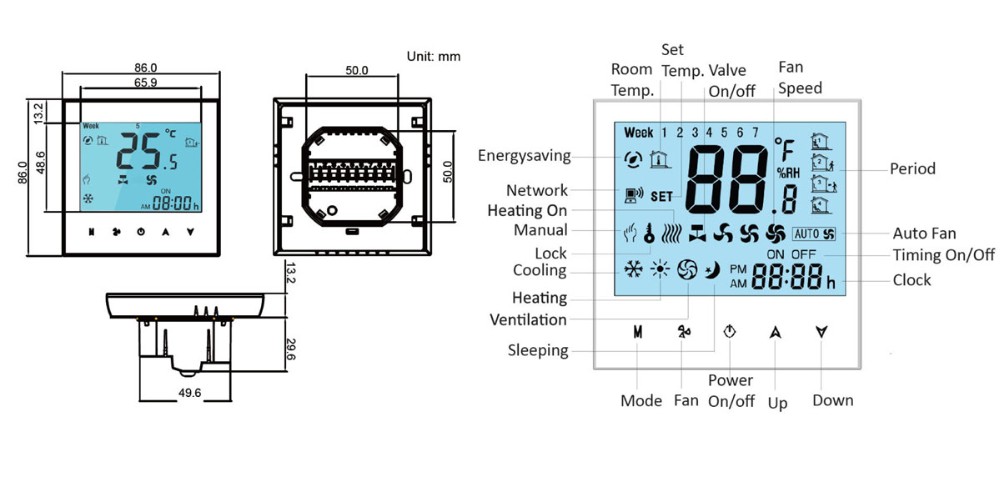
>> Dimensions and Display
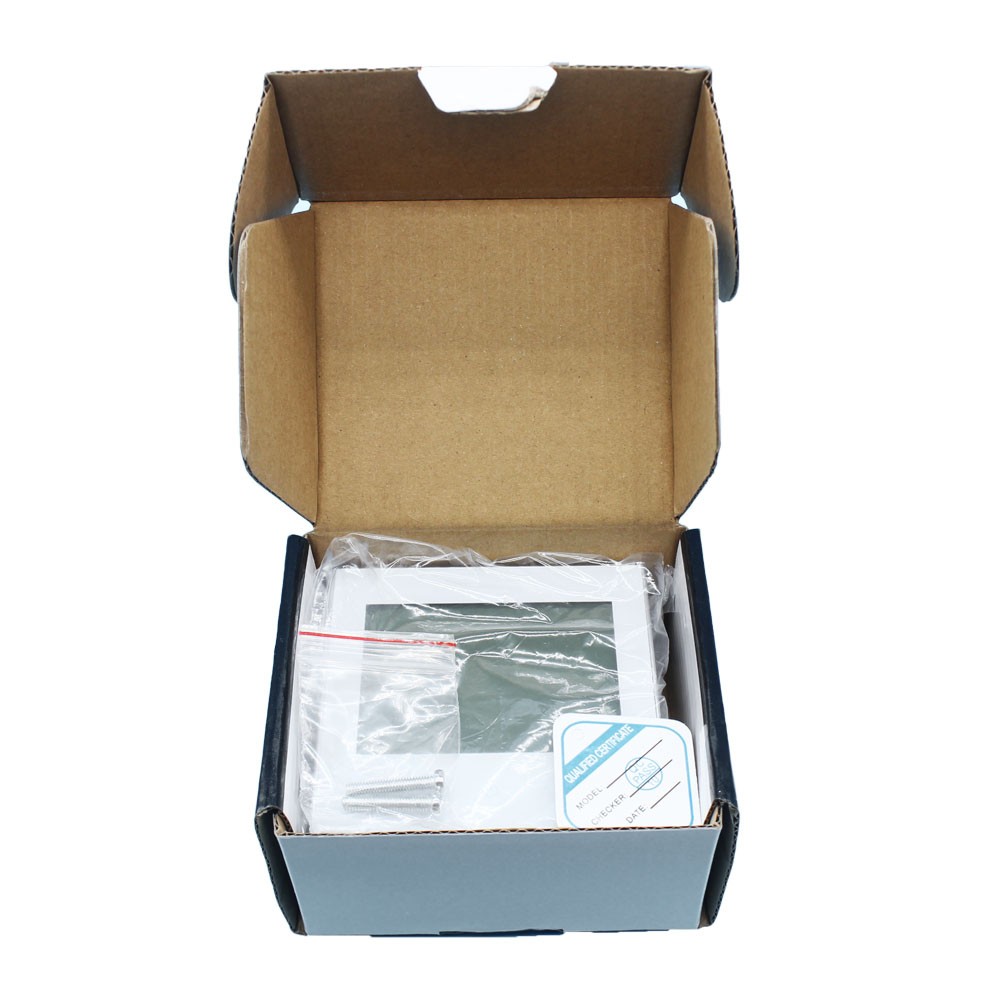
>> Installation

* Make sure the power is OFF! Try turning ON your heating/cooling system by changing the temperature. If you can't get the system to turn ON in 5 minutes, you'll know the power is OFF.
* Take off the installation faceplate by grasping and gently pulling, then connect voltage supply/load output/external sensor(if with) wires respectively to appropriate terminals.
* Fix the installation plate onto the electric junction box with screws packed in the box.
* Fasten the thermostat display part and the installation faceplate through the groove.(Installation process completed)